


Find local pros for your project
Tell us what you’re looking for and we’ll show you pros right for the job, with prices.
Updated
By Jordana Weiss
If you've ever tried to fix your own plumbing or DIY anything in your bathroom, you're probably familiar with the handy and versatile compound known as plumber's putty. And if you've never used it, you're probably wondering how to use it and how long it takes to dry.
Fortunately, there's an easy answer. In most cases, plumber's putty dries almost immediately, but you should still give it 10 minutes or so to cure, just to be safe.
Let's explore the ins and outs of plumber's putty so you feel more confident the next time you have a DIY plumbing project.
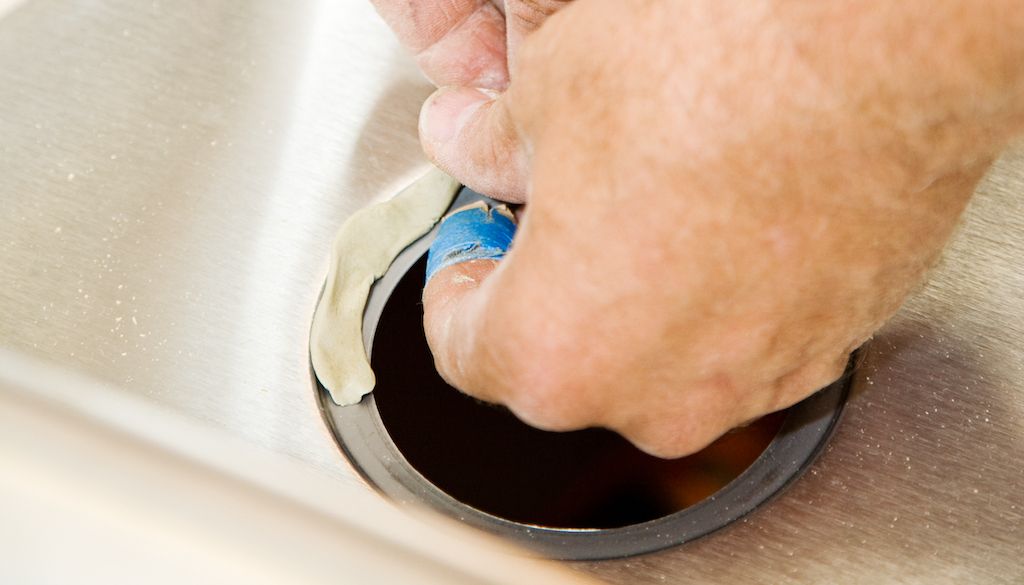
Plumber's putty is a convenient and versatile sealing compound widely used in plumbing to create a watertight seal around fixtures and pipes to prevent leaks. It works by filling in the space between two surfaces so water cannot penetrate.
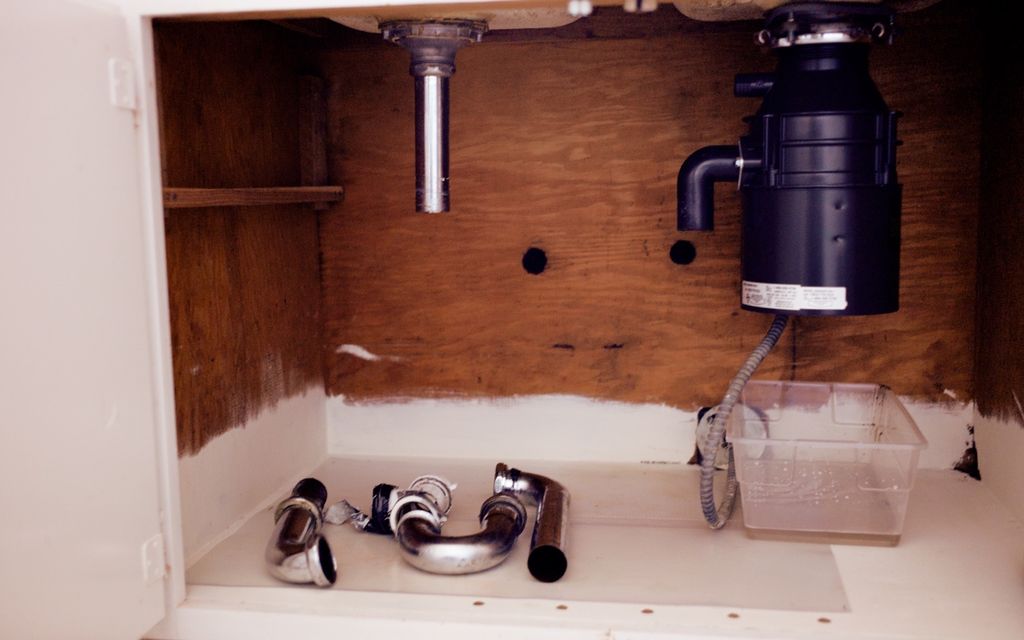
Most often, you'll see it used to seal the space around drains, faucets, sink basket strainers, and pop-up drains. Once in place, plumber's putty prevents water leaks and helps to stabilize fixtures.
Plumber's putty is usually sold in plastic tubs. When you open the container, you'll see a gray substance that's soft and malleable. The putty is primarily derived from organic clay mixed with ingredients like talc, limestone, and linseed oil to ensure it can be easily shaped and molded to the user's specifications.
It's easy to use plumbing putty as long as you follow a few simple steps:
Plumber's putty is ideal for many plumbing-related applications, including any situation where a pliable, non-hardening sealant is needed. Because the putty does not harden but remains watertight, it can be modified over time if adjustments are required.
However, it should never be used on threaded pipes, as it may interfere with proper sealing mechanisms like rubber gaskets or washers. Additionally, plumber's putty is not suitable for use with materials like granite, marble, or plastics because it will affect their integrity and cause long-term damage and stains.
In situations requiring a rigid, long-lasting seal, other products (like silicone or pipe thread sealant) are more appropriate.
Using plumber's putty is fairly intuitive, but it's still possible to make mistakes. Here are a few to avoid:
Now that you've discovered the quick-drying wonders of plumber's putty, we hope you feel more confident using it in your next DIY plumbing project.
However, there's more to DIY plumbing than plumber's putty. If you'd like the advice and assistance of a reputable plumber on your next project, download the Thumbtack app today to find a plumber in your area.
Tell us what you’re looking for and we’ll show you pros right for the job, with prices.