How to install a range hood
By Nicki Escudero•Last updated Nov 7, 2023
Last updated Nov 7, 2023
Table of Contents
- What is a range hood?
- Can I install a range hood myself?
- What you'll need
- Step 1: Remove the old hood if necessary
- Step 2: Mark the vent location
- Step 3: Check for wires and plumbing
- Step 4: Cut the range hood vent hole
- Step 5: Cut the exterior vent pipe opening
- Step 6: Attach the duct or range hood vent cap
- Step 7: Run power to the range hood
- Step 8: Connect the wires
- Step 9: Install vent covers
- Find installation professionals near you
- FAQs
Find local pros for your project
Search for pros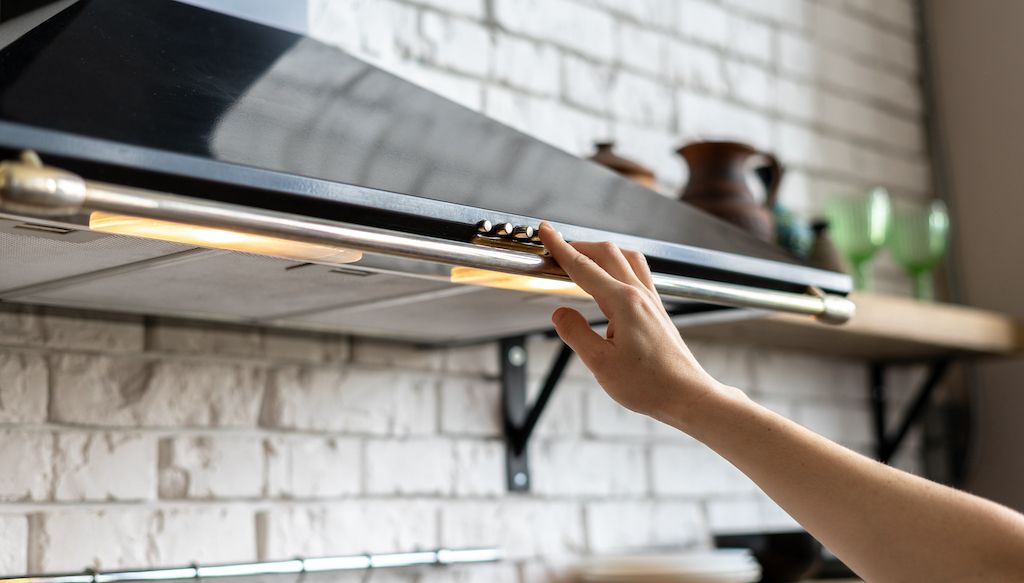
Ducted range hoods help eliminate smells, heat, smoke, and moisture when you’re cooking. They’re an essential part of any kitchen, especially when you cook on an electric or gas stove.
Do you need to install a new hood? Read this step-by-step guide for detailed instructions, tips, and tricks.
What is a range hood?
A range hood is an appliance mounted above a stovetop. A venting range hood removes air and draws in gas fumes, airborne grease, steam, smoke, combustion products, moisture, and heat from your cooking surface. Depending on where you live, your building code may require a range hood.
When a range hood is turned on, it will sound like a fan blowing in your kitchen. The hood may also have a light that illuminates your cooking surface.
There are many range hood types, including canopy hoods, convertible range hoods, and downdraft hoods. Range hood materials also vary and include copper, stainless steel, tempered glass, zinc, bronze, high-quality wood, and nickel silver.
Can I install a range hood myself?
Yes, you can install a range hood yourself. However, you may need a pro to handle some parts of the installation. For example, you may need to:
- Hire an electrician to deal with the electrical connection and hardwire the hood.
- Hire an HVAC technician to install the ductwork (if you're opting for a ducted range hood) and electrical components.
- Hire a kitchen remodeler if you're undertaking a larger kitchen remodeling project.
- Hire an appliance installer to install the actual range hood in your kitchen. Make sure they have the proper certifications to perform any necessary duct or electrical work.
What you'll need
- Range hood
- Drill
- Level
- Screwdrivers
- Long drill bit
- Caulk gun
- Wire stripper
- Oscillating tool or reciprocating saw
- Wall cap
- Ducting
- Tape measure
- Caulk
- Wire connectors
Tip: Range hoods are measured by air cleared out per minute, per square footage (“CFM”). You'll generally want one rated for double the square footage of your kitchen. Also, make sure to choose one that matches the size of your cooktop so it can effectively capture everything below it.
Read all of the instructions in your owner's manual. A physical copy should have come with your range hood, but you may be able to find one on the manufacturer's website.
Step 1: Remove the old hood if necessary
If you’re replacing an old range hood, start by removing it. Range hoods are heavy, so it helps to have someone with you who can support the hood as you remove the support screws.
First, shut off the power to the old hood at the breaker box. Then unplug the hood and disconnect all electrical wires and wiring connectors. Once the old hood is unscrewed, lift it out and remove it.
Step 2: Mark the vent location
If you’re installing a range hood for the first time, you’ll need to drill a hole in the wall, attach new ductwork, and, if necessary, add new wiring.
First, unpack the range hood. Remove the filter, electrical housing cover, and exhaust fan. Place the hood or the provided template against the wall. Mark the locations for the duct and cable holes.
Step 3: Check for wires and plumbing
Before you install the hood, cut a small hole to see what’s behind the wall. If you find electrical lines or plumbing, it's best to contact a professional appliance installer for help.
Step 4: Cut the range hood vent hole
Choose a vent direction that leads from indoors to outdoors as directly as possible. If the stove isn’t on an exterior wall, contact an appliance installation professional. You may need help extending the vent through the roof.
Otherwise, use an oscillating tool, hole saw, or reciprocating saw to cut the vent hole. Make sure it’s large enough that it’s easy to run an electrical cable from the range hood to the power box. Use a long drill bit to drill locator holes at the edges of the vent hole that run through to the exterior wall.
Step 5: Cut the exterior vent pipe opening
Head outside and find the locator holes. Outline the vent hole by connecting the dots between the locator holes. Use a saber saw, keyhole saw, or reciprocating saw to cut an opening for the vent pipe.
Step 6: Attach the duct or range hood vent cap
Use screws and caulk to attach the duct or range hood vent cap to the exterior wall. If the duct isn’t long enough to reach the range hood, attach a duct extension with duct tape and sheet metal screws.
Step 7: Run power to the range hood
If you’re not comfortable working with electrical wiring, it’s best to hire a professional electrician. Otherwise, make sure the hood’s power switches are turned off. Shut off power to the circuit.
Run the electrical wiring through the hole in the wall, and attach it to the range hood with the cable connector. Mount the hood and drive the screws into the studs.
Step 8: Connect the wires
Pair the wires by color (white, black, copper ground), and connect them with wire connectors. Put them back in the junction box and replace the electrical cover. Now you're ready to restore power and test the vent range.
Step 9: Install vent covers
Use your owner’s manual to get instructions on how to install the vent covers. Once you have them in place, you're ready to use your range hood.
Find installation professionals near you
If you’re handy around the house and comfortable with power tools, you may be able to install a range hood yourself. However, if you find your project requires extensive electrical work, you may want to enlist a pro.
Hire an appliance installation professional near you on the Thumbtack app. Download the app today to see a list of top-rated pros, their reviews, and prices.
FAQs
How much should it cost to install a range hood?
The cost to install a range hood largely depends on the type of range hood you choose. For an accurate price estimate, request quotes from nearby pros.
Do you need an electrician to install a stove hood?
You may need an electrician to help with the wiring and electrical connections when installing your stove's hood. However, an experienced appliance installer or HVAC technician should be able to complete the project as well. Just make sure that whoever you hire has the necessary certifications in your city and state to provide electrical work.
Do range hoods have to be vented outside?
A ductless range hood does not need to be vented outside. Only a range hood with a duct system needs to be vented outside.
A ducted range hood works by removing odors, smoke, and grease from inside your kitchen to outside your home. A ductless range hood, on the other hand, only filters out odors, smoke, and grease — it doesn't remove them from your kitchen.
How it works.

Search.
Browse profiles, see prices and use filters to find pros who match your project.

Chat.
Contact the pros you like to discuss project details.

Hire.
Check pro availability and book appointments right in the app.
Find local pros for your project
Tell us what you're looking for and we'll show you pros right for the job, with prices.