Day 1: Prep the room.
Before you start painting the walls, complete this preparation steps:
Step 1: Pick your paint colors (and buy the right amount).
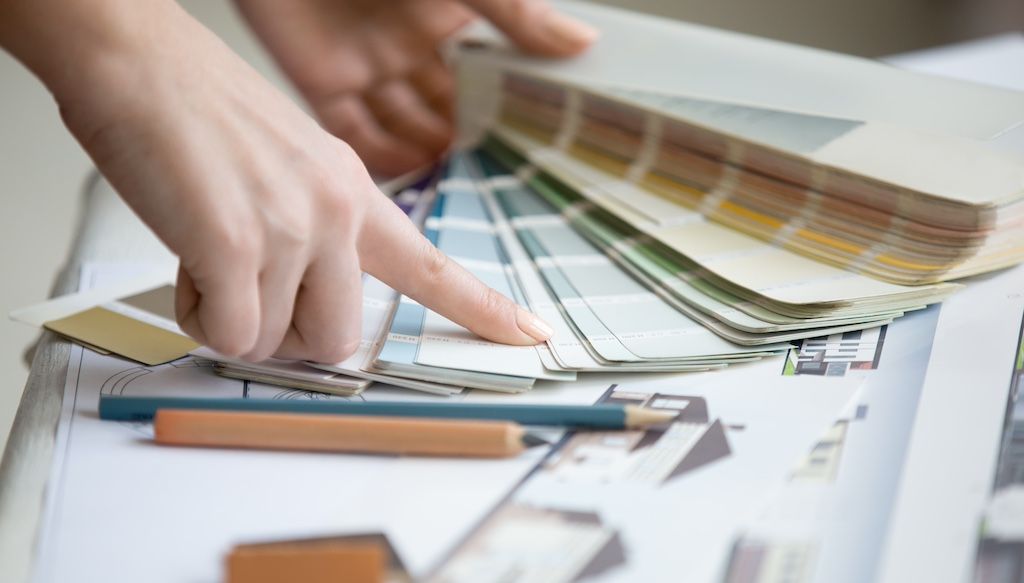 Choose a color palette for your room. Whether you want to use warm colors (like brown, scarlet, peach, red, or orange) or cool colors (like beige, blush, blue, or yellow), pick colors that complement your style and mood. If you're stuck, check out these interior paint color trends for inspiration.
Once you’ve decided on your paint colors, use an online paint calculator to figure out how many paint cans to buy. Two gallons should be enough for an average-sized living room.
Use latex paint, also known as water-based paint, for walls and ceilings. Oil-based paint is better for trim, window frames and doors. You’ll also need a gallon of non-toxic primer.
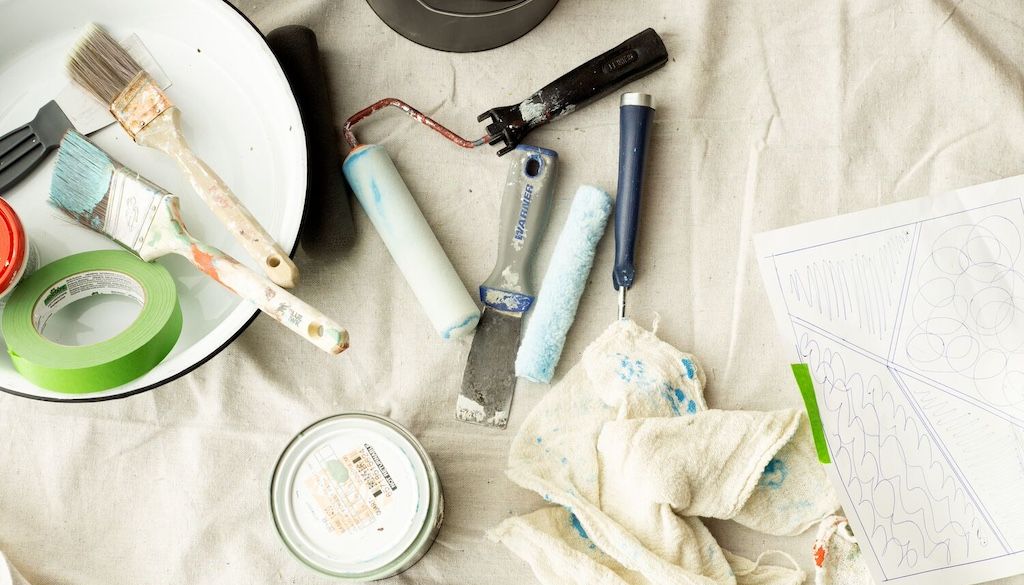
Step 2: Get the right equipment.
 Painting itself doesn’t take that long. But taping does. That’s because to do it right, you’ll need to carefully and completely tape the room before you start — and you’ll need at least two rolls of painter’s tape. Coloring inside the lines is hard when painting an entire room, and the painter’s tape will keep your edges straight.
Get drop cloths to cover your floors and furniture — professionals prefer canvas, which is durable and absorbent. Plastic wrap is an affordable alternative, although it won’t absorb stray paint drips.
Don’t skimp on your paint rollers, roller covers or roller tray — cheap painting materials means cheap-looking walls. You’ll also need a good 3- or 4-inch angled sash brush.
Finally, a ladder is useful for tough-to-reach spots. An extension pole will also give you a better angle when painting.
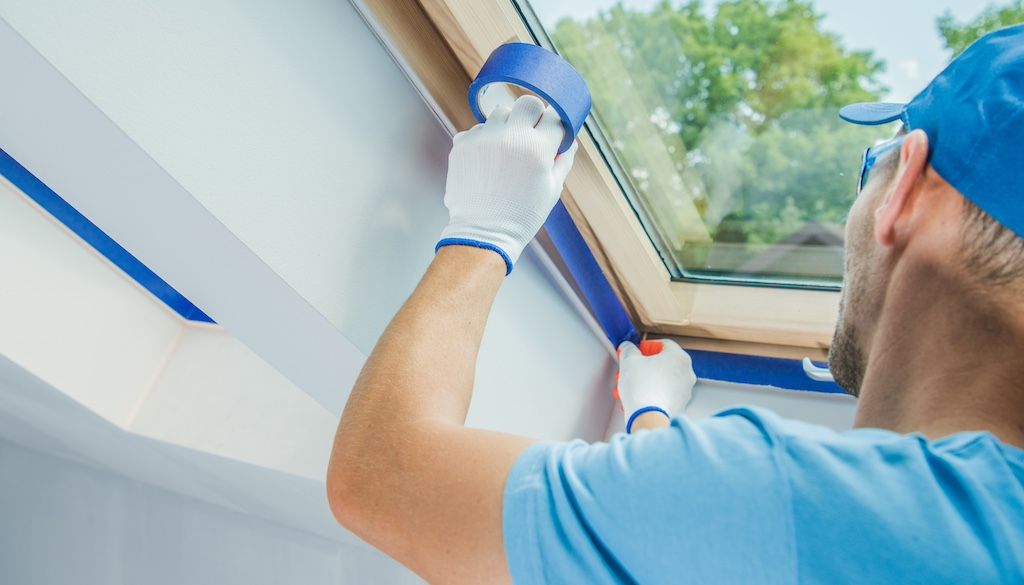
Step 3: Protect your space with tape and covers.
 Don’t get too excited — there’s still work to do before the actual painting. Take everything off the walls. Wipe them down with a damp towel and let them dry. Spackle up any wall damage, and use a putty knife to remove old, peeling paint.
Cover everything in your space, or wet paint WILL get on it. (Same goes for your clothes — don’t wear anything you’re not ok getting paint on, because there’s nothing you can do to keep that from happening.) Place large furniture in the middle of the room and cover it with drop cloths. Put painter’s tape along straight edges (baseboards, connecting corners of walls, and ceiling edges).
Take out all light fixtures, light switch covers and electrical outlet covers. Cover these areas with more tape to protect them from dust. Tape your drop cloth along the bottom of the baseboard to cover the entire floor.
Step 4: Prime the walls.
 Always prime before painting. Without primer, the paint coat won’t last long or look smooth. A new wall is very porous, but a primer protects it and creates a smooth surface for new paint. A primer also helps if you’re painting a light color over a darker color, or if the original paint on the wall is high-gloss.
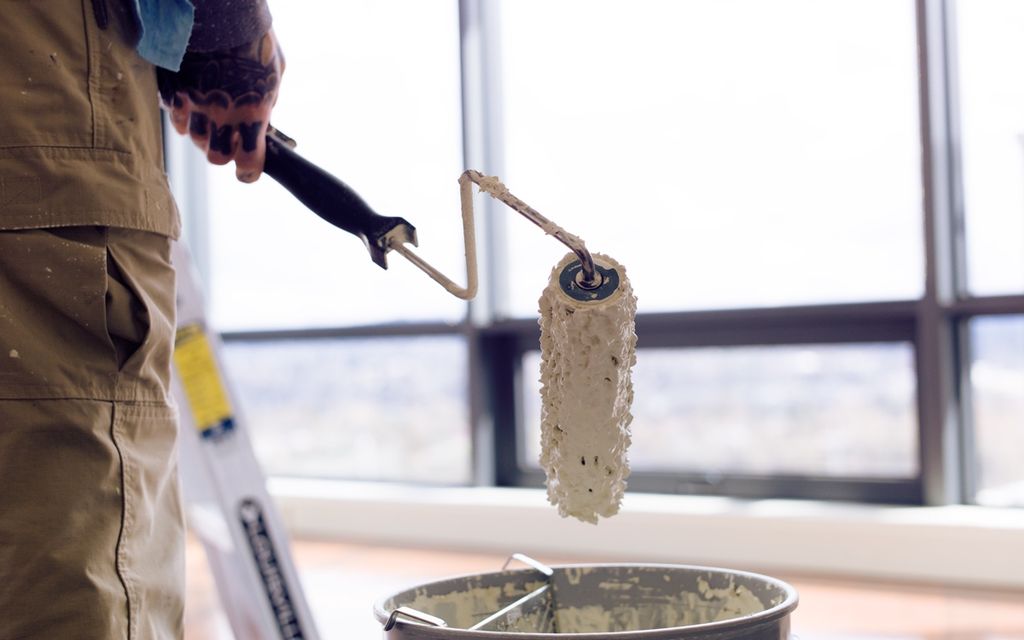
Apply the primer with a roller, and finish the edges with the brush. Don’t worry about it looking perfect. All you need is a smooth coat.
Open windows and use a fan to air out the smell. Wait a couple of hours for the primer to dry. The wall is ready once you touch the wall and the primer doesn’t get on your fingers.
Get free estimates from top-rated interior painters.
Please enter a valid zip code
Day 2: Paint the room.
Once you've completed prepping your room, it's now time to paint. Follow these five steps to ensure a job well done.
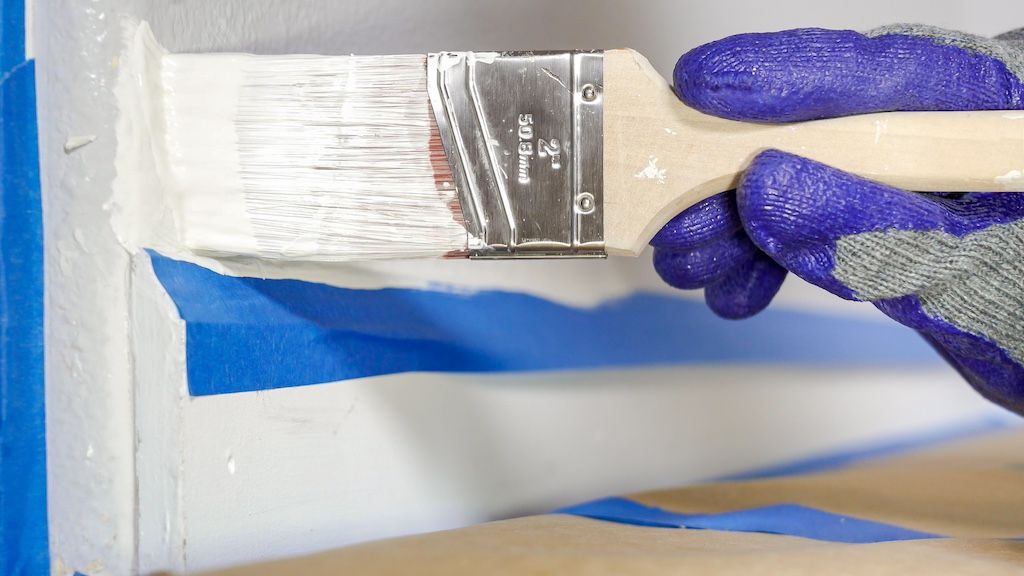
Step 1: Cut in your corners.
 Check that your tape and covers are still in place — especially if you have pets that are prone to late-night wandering. Then, stir your paint for about 30 seconds and pour it into the roller pan.
Hold your angled brush like a pencil. Paint anywhere that the roller can’t reach — corners between walls, and along the ceiling and baseboards. Add a 4-inch border of paint around the walls.
It takes time, but don’t rush or the lines won’t be clean.
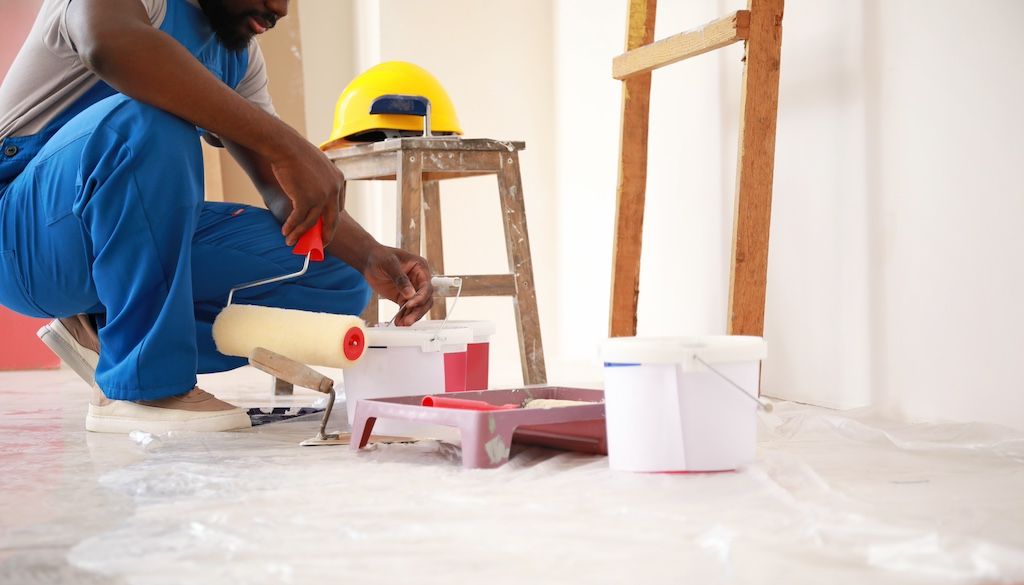
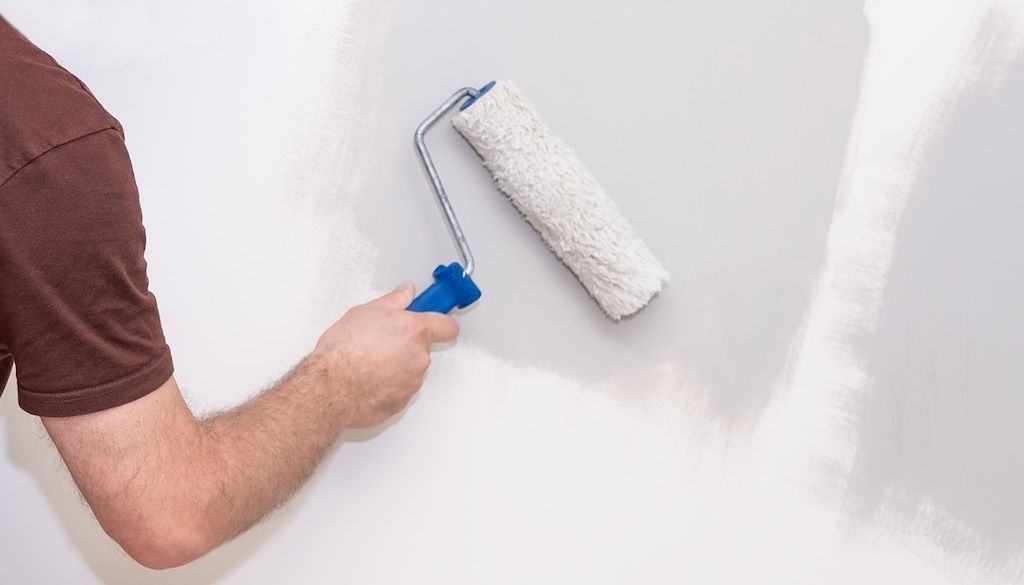
Step 2: Roll paint onto the walls.
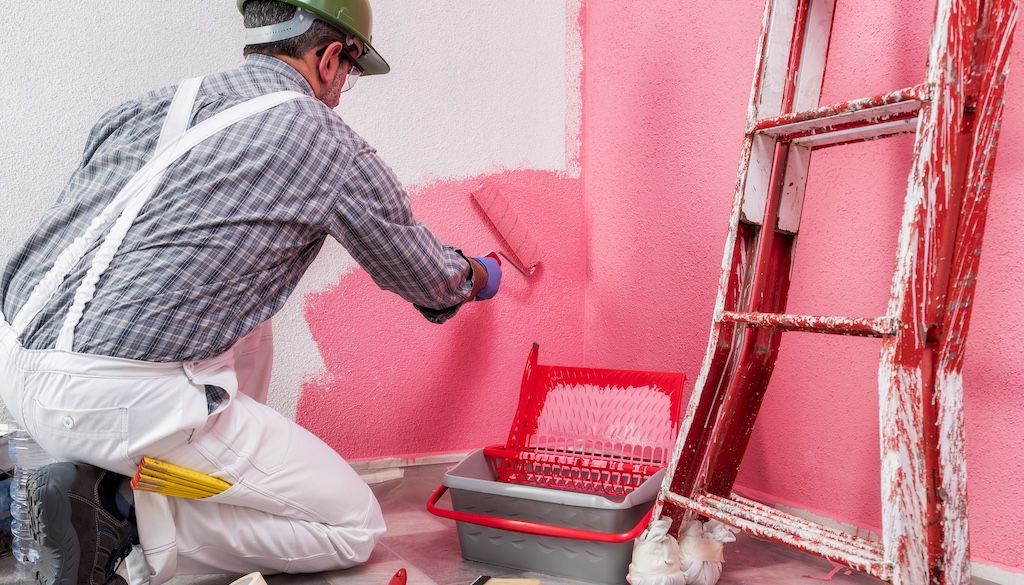 Now comes the fun part. Roll your paint roller into the tray’s well, then roll a few times on the upper part of the tray to shed excess paint. Paint in a W pattern that runs top to bottom and back again. Paint in 4-foot sections.
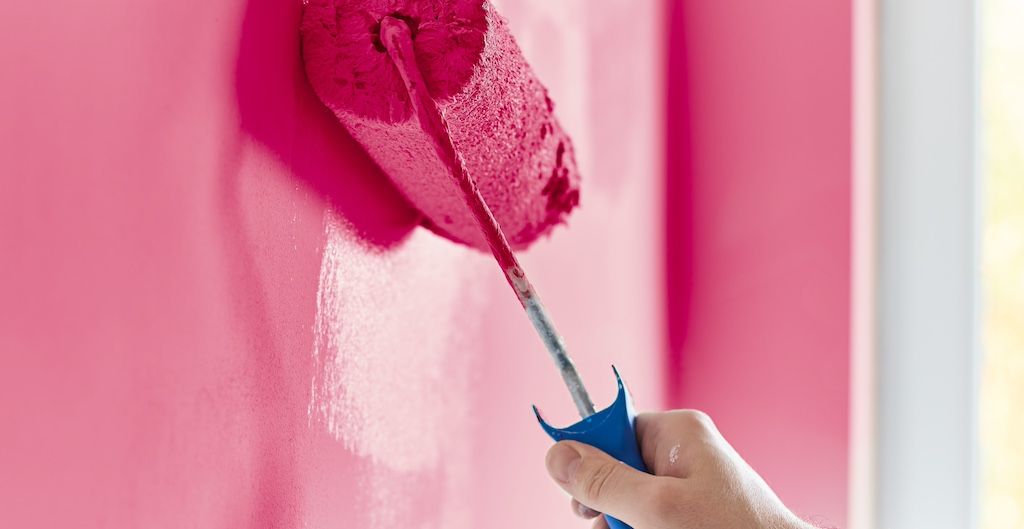
No need to press too hard. Apply your brushstrokes with a moderate amount of pressure and keep a steady hand. Turn the roller sideways to work along the wet edges that you’ve cut in. This will blend the brush marks along the edges.
Watch the paint in your roller. A roller that’s too wet will lay the paint on too thick. If there isn’t enough paint on the roller, you’ll get glimpses of white primer through the painted area.
Paint over all white areas with a good coat of paint. Do one wall at a time.
Step 3: Wait for the paint to dry, then add a second coat.
 Paint dries after two or three hours. Test it by touching the wall in a discreet or hidden corner. Once dry, apply another coat of paint. You won’t need to cut in the corners again.
After you’ve added that extra coat, wait a couple more hours for it to dry. When that’s done, remove the painter’s tape. Pull it out at an angle, towards your body, so no paint peels off.
Step 4: Clean up and store away items.
 You’re close, but you’re not done yet. Cleanup takes a while, especially if a stray splash of paint accidentally landed somewhere. Here are some tips to help clean up the mess:
- If there’s a splash on the floor, use a fingernail or a paint scraper to remove it.
- For paint drips on carpet or upholstery, use a nontoxic latex paint remover.
- Wash your paint brushes in warm water. Make sure that the paint doesn’t clog your drains. Hang the clean brushes to dry for around a week.
- Get rid of roller covers and tray liners; they're disposable.
- Wash your tray and paint roller, so you can use them for your next paint job.
- Store leftover paint a cool, dark space. Use a rubber mallet to seal the lid onto its paint can and keep the paint fresh. Latex paint lasts for about 10 years.
Remember this important rule: Never pour extra paint down the drain. To safely dispose of it, add cat litter to the paint inside the can. Stir until the mixture thickens, and leave it for an hour to dry out. Remove the lid, and throw the can away in the garbage.
How much does it cost to paint a room?
Want to hire an interior painter? A number of factors affect the cost of painting a room:
- Square footage. Interior painters tend to charge based on the square feet of the wall and ceiling height. It affects how much paint and time is needed to finish a painting project.
- Number of rooms. The more rooms to paint, the higher the cost. Some painters will lower the price per room as the number of rooms to be painted goes up. So repainting your home in one go may be more affordable than repainting rooms one at a time over a long period of time.
- Premium paints, such as luxury brand paints or eco-friendly paints, can add to the cost.
- Additional services. Many interior painters also offer small drywall and baseboard repair services. Any additional labor and materials will add more to the cost.
- Travel time, gas and other factors will affect the price too.
To save on your overall spend, you can take care of some details beforehand so everything is ready when the painters arrive. If painters have to remove outlet covers and light switches, or move and cover furniture, that extra time gets added to the bill.
Get a free cost estimate based on your needs from an interior painter near you on Thumbtack.
Compare prices from interior painters near you.
Please enter a valid zip code
Who to hire to paint your room.
Interior painters can prep and paint walls, ceilings and more. Find an interior painter and other home improvement pros on Thumbtack:
*A note about project costs featured in this article: Figures represent national average cost estimates using data provided by Thumbtack pros and additional research. These figures are provided for educational purposes only and are subject to change at any time due to various factors. Details about your specific project and local rates can impact costs.