


Find local pros for your project
Tell us what you’re looking for and we’ll show you pros right for the job, with prices.
Updated
By Evan Crowther
A new washing machine can be an exciting addition to any home. However, for new construction homes or remodels, this helpful appliance generally requires some degree of plumbing installation. Washing machine drain plumbing is especially important to ensure water has a path to exit after a wash cycle.
In this guide, we’ll walk you through the process of plumbing in a washing machine. We’ll explore the drainage and venting systems, as well as the necessary valves and plumbing fixtures. Let's get started.
For homes already equipped with an old washer, installing a new one is a simple task, even for inexperienced DIY-ers. However, installing washing machine plumbing is a much more involved process.
Only those with considerable plumbing knowledge should consider taking on this project without consulting a professional. Unless you have extensive plumbing experience, it’s probably best to hire a plumber. Even a small plumbing mistake can have disastrous consequences.
The exact parts and tools you’ll need will vary depending on your laundry room layout and the existing plumbing in your home. In general, you should have the following on hand:
The tools and materials you’ll need depend on the complexity of the plumbing installation. Determine how much of the plumbing is already in place and what you’ll need to install. Then, get all your equipment ready.
Most homes with an existing laundry room have a space designated for the washing machine. If you want your washing machine to go somewhere else, the installation may require more extensive plumbing work. You should also take this opportunity to measure the space and ensure your appliance will fit.
If you have an old washing machine installed, hooking up the new one is simply a matter of connecting the hoses and drain pipe to the existing fixtures.
Before you begin any work on your washing machine plumbing, shut off the main water supply to your home. If you have the water running when you tap into the supply or drain lines, it can lead to flooding and water damage.
To create a new outlet for the water supply line, you’ll have to cut the pipe using a saw or tube cutter. Add a tee fitting to run a supply stub out to the wall.
If running a new supply line is too complicated and you have a utility sink, a simpler solution may be to connect directly to the sink:
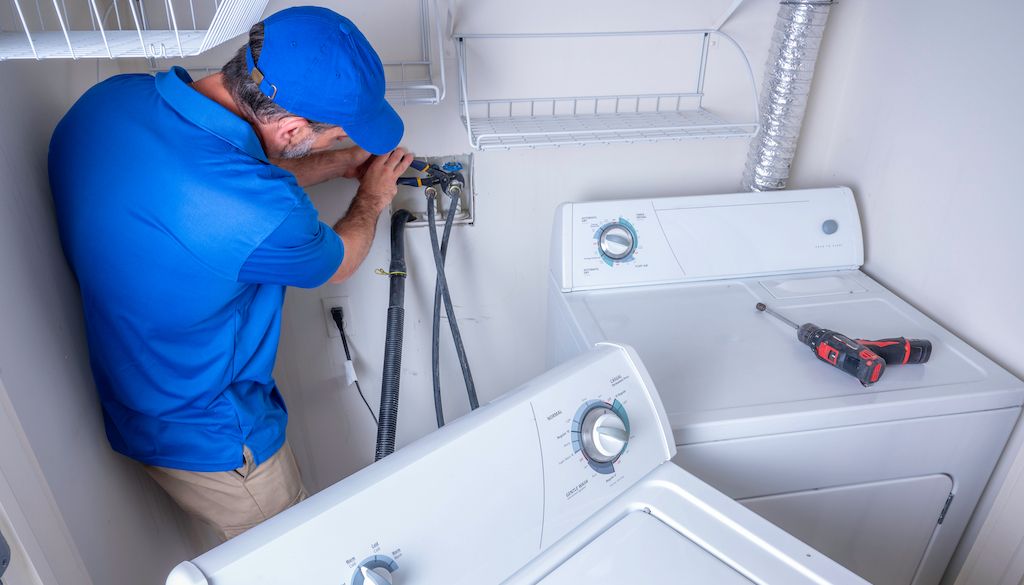
Once you have a water supply stub in place, it’s time to install the appropriate fixtures. Use a drill and masonry screws to secure the washing machine box in place. Connect bibbs to the supply stub outlets so you can turn on the water and shut it off.
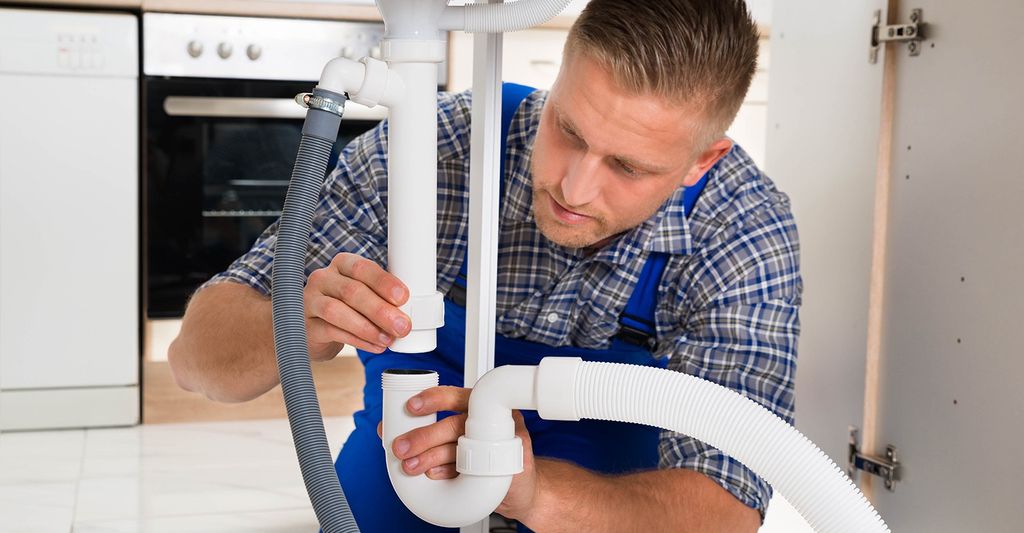
Just as a rain pipe drains water from your roof to the drain, your washing machine uses a vertical pipe to drain water after washing. Similar to tapping the water supply line, you’ll have to run a drain line from the washing machine box. Be sure the drain hose isn’t obstructed or kinked.
If you’re installing all new plumbing, you’ll also have to install a vent stack. The drain vent allows air to escape so air pressure can’t build and stop the water from draining. A clogged plumbing vent pipe can stop water from draining fully. Other signs that the vent is clogged are gurgling sounds or bubbling noises.
Once you have the plumbing in place, hook your washing machine up to the fixtures. Turn the water on and run a light cycle to test the new plumbing.
Installing a new washing machine is a simple project, but installing washing machine plumbing typically requires the help of a professional. If your laundry room isn’t already equipped with a washing machine connection, you should probably call a plumber.
Thumbtack makes it easy to find a qualified professional. Download the app today to find a top-rated plumber near you.
Related: Why is my washer not draining?
Tell us what you’re looking for and we’ll show you pros right for the job, with prices.