Changing bathroom tile: An in-depth guide
By Alyssa Chua•Last updated Apr 15, 2024
Last updated Apr 15, 2024
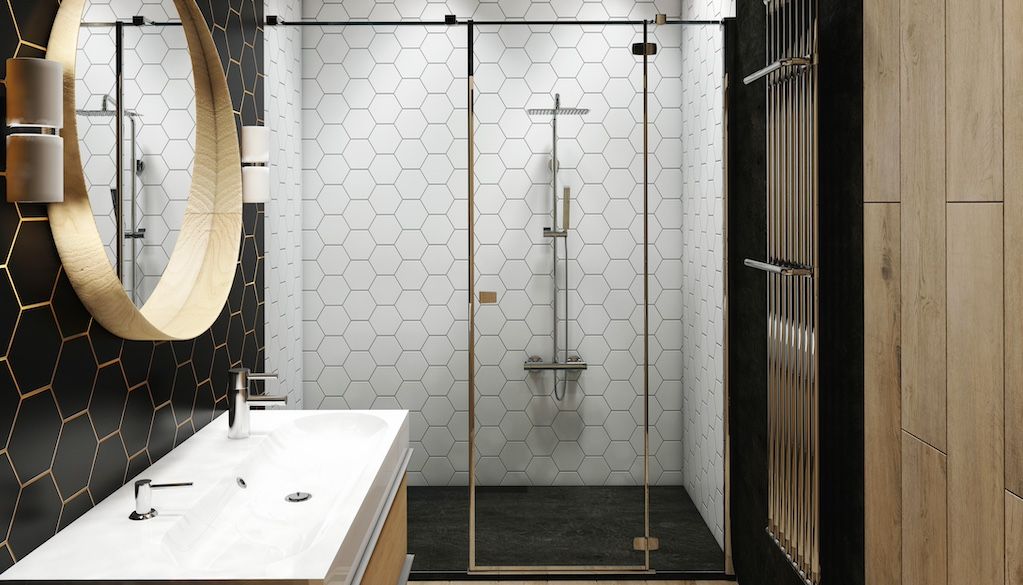
Are you embarking on a bathroom remodel and want to switch up your tiles? This comprehensive guide will walk you through the steps, from prepping your bathroom to applying the grout and finishing touches. Let's dive in, starting with choosing the right type of tile for your bathroom upgrade.
Choosing the right tiles for your bathroom.
When choosing bathroom tiles, you have a lot to consider, from size to tile type to color. Keep these tips in mind as you research your options:
Tile sizes
Can’t decide between small or large-format tiles? Consider the advantages of both.
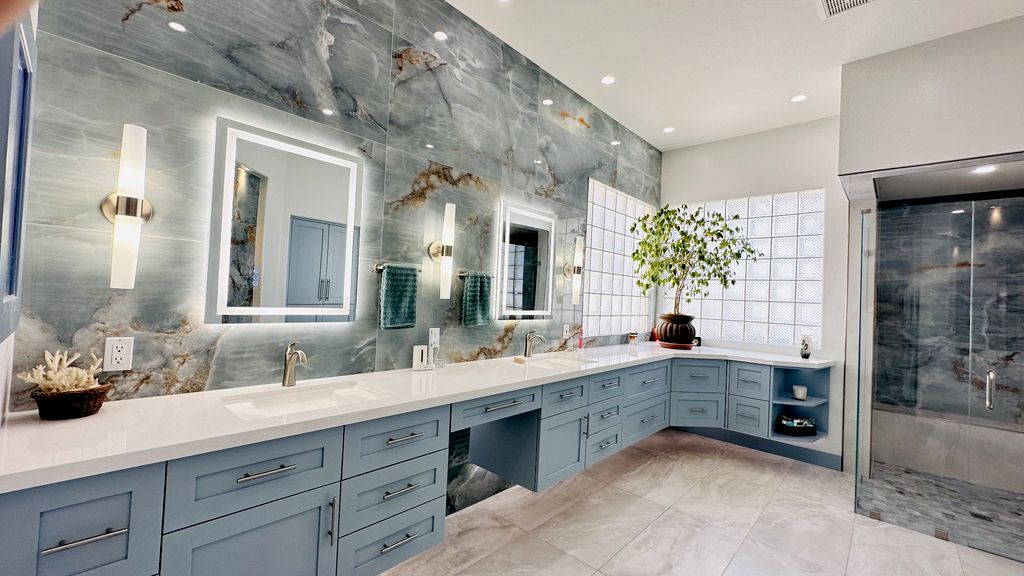
The benefits of choosing large-format tiles include:
- They’re great for creating a modern, sleek, and seamless design.
- They’re easier to maintain and clean because they have fewer grout lines.
- They can help a small bathroom appear bigger.
- You’ll need fewer tiles, so installation can be easier and faster. However, larger tiles can be heavier to handle, which may mean you’ll need a professional to install them.
The benefits of installing small tiles include:
- They’re better for creating intricate or textured designs.
- They can also help make a bathroom feel more intimate.
- They’re easier and less expensive to replace.
- The installation process is more DIY-friendly because they weigh less.
- The smaller the tile, the more grout lines there will be. That can be an advantage if you’re worried about slipping on your bathroom or shower floor.

Ask a tile professional or interior designer for help picking the best size for your bathroom tile replacement project. You can also combine large and small tiles in your bathroom remodel. For example, you may want to use large-format tiles for your bathroom floor and smaller tiles for your shower walls.
Bathroom tile types

One of the biggest — and perhaps hardest — choices you’ll have to make is the type of bathroom tile to use. Different tiles have different characteristics, costs, and maintenance requirements.
Consider the following:
- Ceramic tiles are known for their durability and resistance to decay. They come in matte, satin, gloss, or polished finishes and in many colors and designs. They’re cost-effective, but not as hard-wearing or water-resistant as some other tiles.
- Porcelain tiles contain a finer clay type than ceramic tiles. They have a compact surface, making them harder and denser than ceramic tiles. However, they can cost more than ceramic tiles.
- Glass tiles brighten up dull spaces with vibrant colors and light-reflecting qualities. They are non-porous, resist moisture, are easy to customize, and don’t stain easily.
- Limestone tiles are a good option if you want natural-toned tile. They usually come in beige, gray, or brown and give your bathroom a warm shade. However, they have pores and need a good seal to prevent moisture from seeping in.
- Marble tiles are perhaps the most luxurious of all tiles. They’re one of the best options if you want a beautiful texture for your bathroom floor. However, you need to be extremely careful when installing them. They’re also often one of the most expensive tiling options.
- Mosaic tiles can be made of ceramic, marble, glass, or other materials. They’re tiny, so you can combine different colors to create the design you want. Because of their size, though, it may take some time to finish installing them.
- Slate tile is one of the toughest tile options, so you don’t need to worry much about scratching or chipping. It’s expensive, but it can be a good long-term investment.
- Terracotta tiles bring the endless-summer vibes of the Mediterranean into your home. They usually come in orange, red, or earthy shades, giving your bathroom a warm, comfortable, inviting feel. Terracotta needs to be sealed well because it absorbs water in its natural state.
- Vinyl tiles are highly practical and low-maintenance. They can handle a lot of wear and tear and still look good. They’re also cost-effective. Today, they come in designs that can look great on your bathroom floor. If you’re on a budget, they can offer excellent value for money.
Other factors to consider
Aside from size and type, you’ll want to consider other factors for your bathroom tiles, such as:
- Your bathroom’s color scheme. If you want a specific color, make sure the tile is available in that shade. Check with the retailer and manufacturer to confirm they have tiles that fit your bathroom’s color palette.
- The level of moisture your tiles can handle. Bathrooms are generally wet, so you need tiles that won’t soak up water and damage your floor.
- Slip resistance. Choose slip-resistant tiles to help prevent accidents when the bathroom floor gets wet.
- Your budget. Marble, slate, and other natural stone tiles typically cost more than ceramic, porcelain, or vinyl tiles. Get estimates from bathroom remodeling and tile installation professionals to find an option that fits your budget.
How to replace your bathroom tiles

After you’ve selected your tile, decide whether you want to hire a pro for this project or complete it yourself. Here are the general steps for changing bathroom tiles.
Tools you’ll need
- Retractable tape measure
- Spirit level (to ensure the substrate and floor tiles are level)
- Tile cutter
- Contour gauge or gauge
- Soft pencil or chalk
- Tile nippers
- Notched spreader
- Grout spreader
- Clean sponge
- Rubber mallet and hammer
- Utility knife or putty knife
- Dowel or finishing tool
Materials you’ll need
- New floor and/or bathroom wall tiles
- Waterproof adhesive/mortar
- Antibacterial grout
- Self-leveling spacers (to ensure the tiles are level and spaced evenly)
- Soft sponges and cloths
- Gloves
Pro tip: When completing DIY projects, always put safety first. Wear protective gloves and, if possible, protective glasses or goggles. Old tiles can chip into tiny pieces while being removed.
Step 1: Prepare the bathroom

Start by removing furniture and other obstacles from your bathroom. You want your work area to be clutter-free.
Determine how many tiles you need by measuring your square footage. Plan your floor layout so you don’t accidentally cut your tiles incorrectly. You can do this by laying all your tiles loosely on the floor to see how you want to place them. This is especially helpful if your tiles come in different patterns and colors.
Bathrooms are generally damp places, so you must work to keep them as watertight as possible while replacing your tiles. Moisture will be your biggest challenge when tiling your bathroom floor.
Step 2: Remove the old tiles

Use your hammer, utility knife, or putty knife to pry out the old tiles. Be careful not to hammer too hard, as this could damage the drywall or floor or wall. Once you’ve removed all the tiles, use your utility knife to cut away any remaining mortar.
Before you apply the new tiles, make sure the surface where you’ll lay them is smooth and flat. If any debris remains, you’ll end up with uneven tiling. Clean the surface thoroughly to avoid costly mistakes.
In some cases, you may need to attach a base layer or backer board to your subfloor.
This will give your tiles a more level and stable surface.
Step 3: Install the new bathroom tiles

Start re-tiling your bathroom by spreading your mortar mix with a notched trowel. Make sure to leave spaces between your tiles with the help of spacers.
Lay out each tile one by one. You may need to trim tiles around cabinets, doorways, the toilet bowl, and other fixtures with a wet saw.
After installing your tiles, leave them overnight to set.
Step 4: Apply grout and finishing touches

When the mortar is completely dry, remove the spacers. Spread grout over the tiles and press it between them with a trowel. Use a sponge to remove excess grout immediately so it doesn’t harden on your tiles.
Leave it for 24 hours to set, and make sure it doesn’t get wet for at least 72 hours so the grout can dry.
Tips for maintaining and extending the lifespan of your new tiles
Done with your bathroom and shower tile replacement? Follow these tips to maintain them and help them last a long time.
Keep your tiles clean
Cleaning regularly with a damp mop or sponge will help keep your tiles looking new and prevent stubborn stains from building up.
When dealing with difficult stains and spills, you can use pH-neutral cleaners. Just be sure to wipe them up immediately afterward so they don’t set.
Use mild cleaners only
Avoid using acid- or solvent-based cleaners. They may damage or discolor your tiles and grout. Only occasionally use alkaline cleaners for grout cleaning, and avoid getting them on the tile.
Don’t allow soap, bleach, or other cleaning solutions to sit on the surface. If you aren’t sure whether a cleaner is safe enough, test a little on a small area first.
Seal your grout
When applying your grout, be sure to seal it. Depending on your grout type, some — like cement grout — may be more porous and cause mold. You can also consider a grout with lower porosity. This can help prevent mold, bacteria, and mildew from forming underneath the surface.
Change the look of bathroom tiles without removing them

Understandably, you may not want to go through the trouble of replacing your tiles. Fortunately, it’s possible to change the look of your existing tiles. Here’s how:
- Apply wallpaper over the tiles. Make sure the tiles are clean and don’t need repairs or reinstallation.
- Apply vinyl adhesive over the tiles. Again, make sure your tiles are in good shape and prepped before applying the vinyl.
- Paint the tiles. Yes, you can also paint your bathroom tiles. Before you do, clean the surface, use a primer, choose a high-quality paint made specifically for tile, and apply a top coat. For a high-quality paint job, you might want to hire an interior painter instead of doing it yourself.
- Clean the grout. Maybe your bathroom tile just needs a good cleaning to look new again. If so, hire a professional grout cleaner to deep clean it.
Choose the right pros to update your bathroom tiles
If replacing your bathroom project seems a little too challenging, you can get help from professionals on Thumbtack.
Download the Thumbtack app and get free cost estimates from professionals in the following categories:
These pros can help you remodel your bathroom or fix your tiles to give you the upgrade you want. They can also help you understand bathroom tile installation costs so you know how much to budget.
Note about project costs in this article: Figures represent national average cost estimates using data provided by Thumbtack pros and additional research. These figures are for educational purposes only and are subject to change at any time due to various factors. Details about your specific project and local rates can affect costs.
How it works.

Search.
Browse profiles, see prices and use filters to find pros who match your project.

Chat.
Contact the pros you like to discuss project details.

Hire.
Check pro availability and book appointments right in the app.
Find local pros for your project
Tell us what you're looking for and we'll show you pros right for the job, with prices.