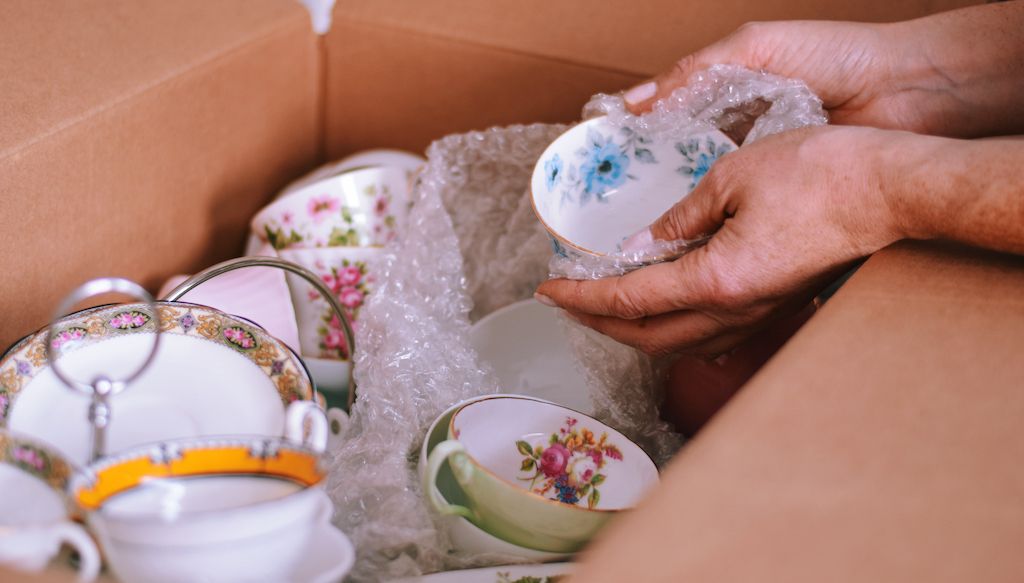
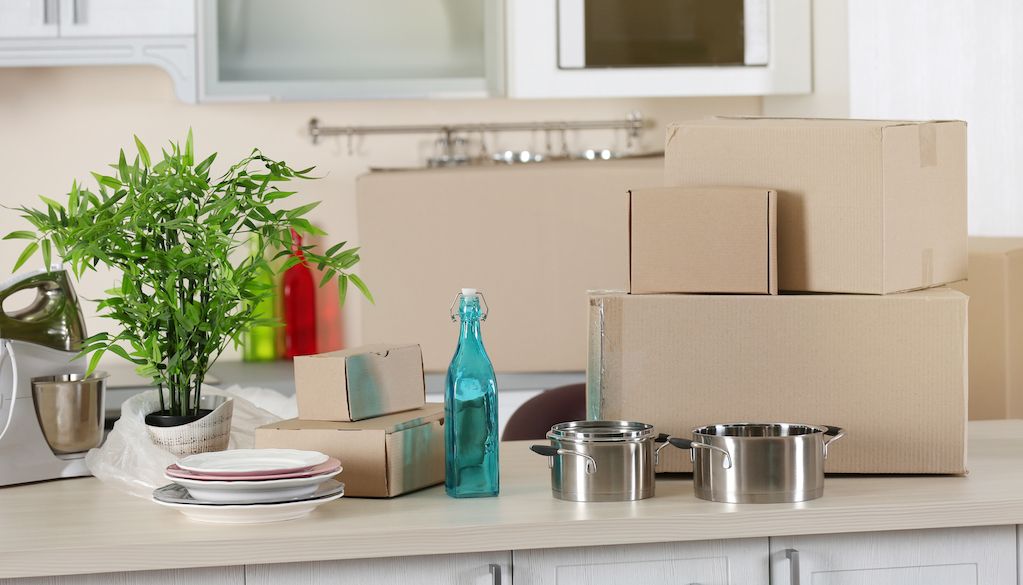
Packing supplies you need for dishes when moving.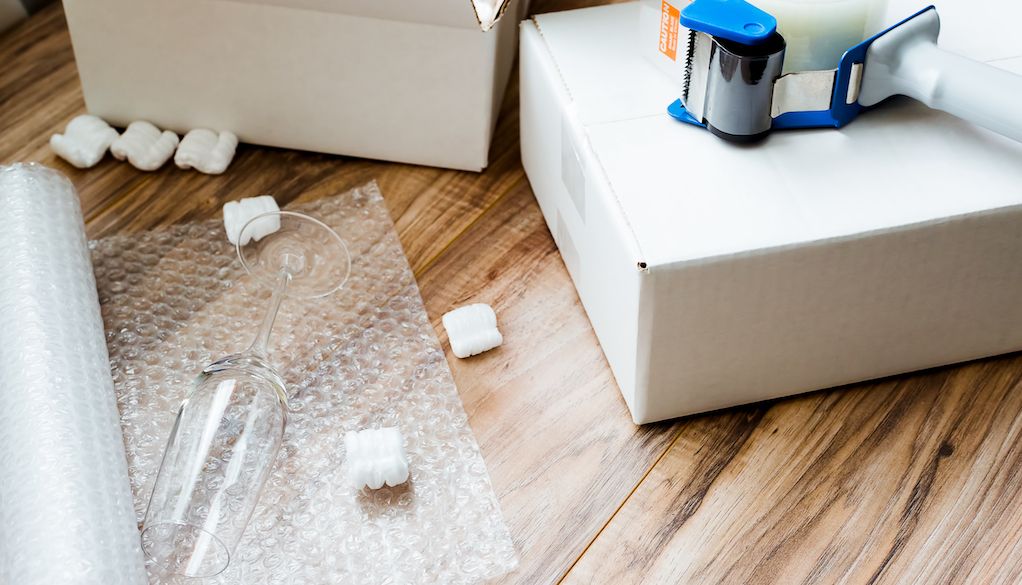
First things first: start by getting all of your packing supplies in order. Here’s a list of the packing materials you’ll need for your dishware:
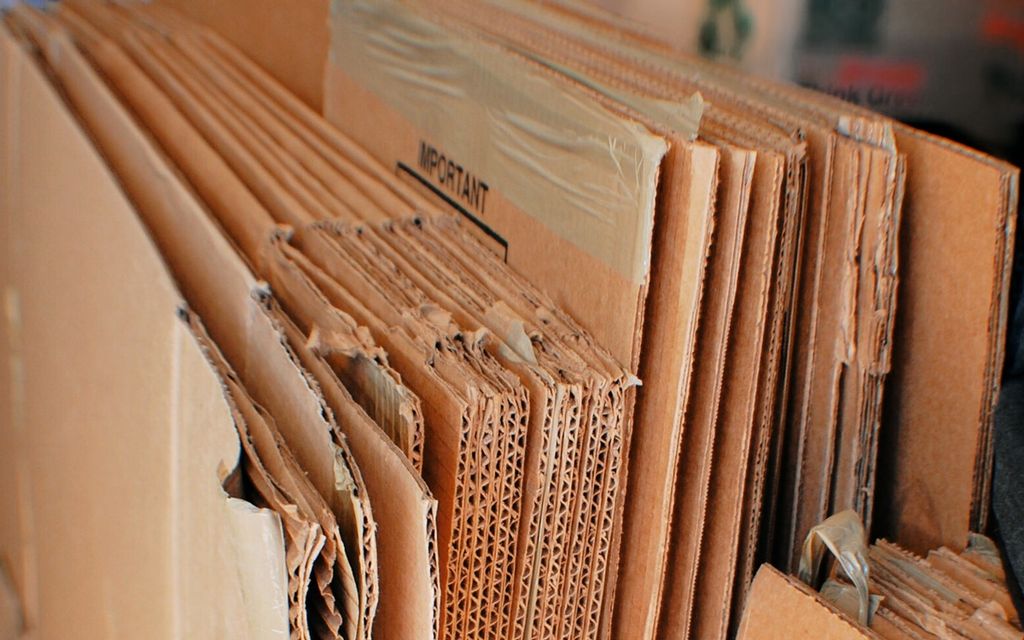
- Moving boxes. You can often purchase these from moving and packing companies, home improvement stores and office supply stores. You might also find them for free by asking local stores or checking online marketplaces. Read our guide on how to find cheap (or free) moving boxes for more tips.
- Tape. Get the three different types of tape: standard packing tape, nylon tape for reinforcing the bottom of boxes, and clear mailing tape for water-resistant labels.
- Sharpie pens or permanent markers. Get a few in black so the lettering stands out and is easy to read.
- Packing paper. If possible, avoid using newspaper to wrap your dishes. It can leave ink stains on valuables.
- Bubble wrap. You may be able to find a good deal on bubble wrap if you purchase them in rolls and just cut them down to the size you need for your dishes.
- Plastic cling wrap. Get some mover’s grade cling wrap to bind, bundle and fasten items when moving.
- Scissors. You’ll need scissors for cutting tape, plastic and bubble wrap. They’re also handy for opening boxes when unpacking.
- Towels. This is an optional packing material if you want to add extra cushion and fill extra space to keep dishes safe and snugly fit.
- Cell box dividers. This is also optional but highly recommended. If you can find them, you can use cardboard grids with individual compartments to pack small, fragile items such as drinking glasses, stemware, and ceramic cups and mugs. You can also make these using premeasured and notched strips of cardboard.
General packing tips for dishes and kitchen supplies.
 No matter what type of dish you’re packing, keep these tips in mind:
- Clean them first. Make sure all dishes are washed and completely dry before you pack them.
- Declutter. Throw away any broken, chipped or cracked dishes. Consider donating or selling items that you rarely use.
- Reinforce. Boxes used for dishes, glasses and heavy items (such as pots and pans) should be reinforced on the bottom with nylon tape to ensure they remain closed when being picked up.
- Set up your work area. Clear off your dining room table or a large section of counter space. And place a stack of packing paper sheets on your work surface.
- Label, label, label. Be sure to clearly label boxes with the specific contents inside. Indicate where to put the dishes in your kitchen or dining room area (“cabinet above sink,” “drawers to the left of stove,” “hang hooks on kitchen wall,” etc.) and which side needs to be kept up for safety when opening.
Related: How to pack every room for an easier move.
How to pack glass dishes (including wine glasses).
- Lay the glass or wine glass at one end of the packing paper. Gently roll the glass up in paper, stuffing paper inside the opening and conforming it around the stem of wine glasses. Tuck in loose corners and secure them with tape.
- Line the box with wadded packing paper or folded towels before placing the cell box dividers and glasses inside.
- The best way to pack glasses and stemware is with cell box dividers, especially if it's a long-distance move. Separate each level with a flat piece of cardboard.
- Pack the glass dishes upright, carefully stacking only glasses of similar size on a second level. Be sure to fill all empty space with crumpled paper if you don’t have the cell box dividers.
How to pack cups and mugs.
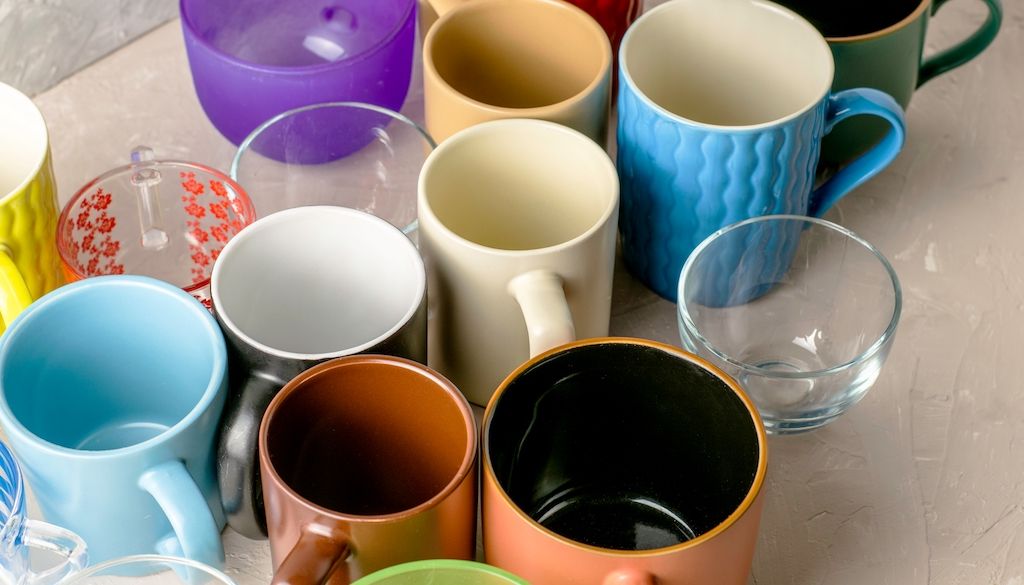 Use packing paper or bubble wrap. Either one can be used to wrap fragile cups and mugs. Lay the cup or mug at one end of the paper as you did for the glasses. Roll the cup or mug up in the paper, stuffing excess paper into the opening. Tuck in loose corners and secure with tape.
Pack cups and mugs the same way as glasses, using cell box dividers if you have them. Otherwise, fill in empty space with wadded packing paper.
How to pack plates and bowls.
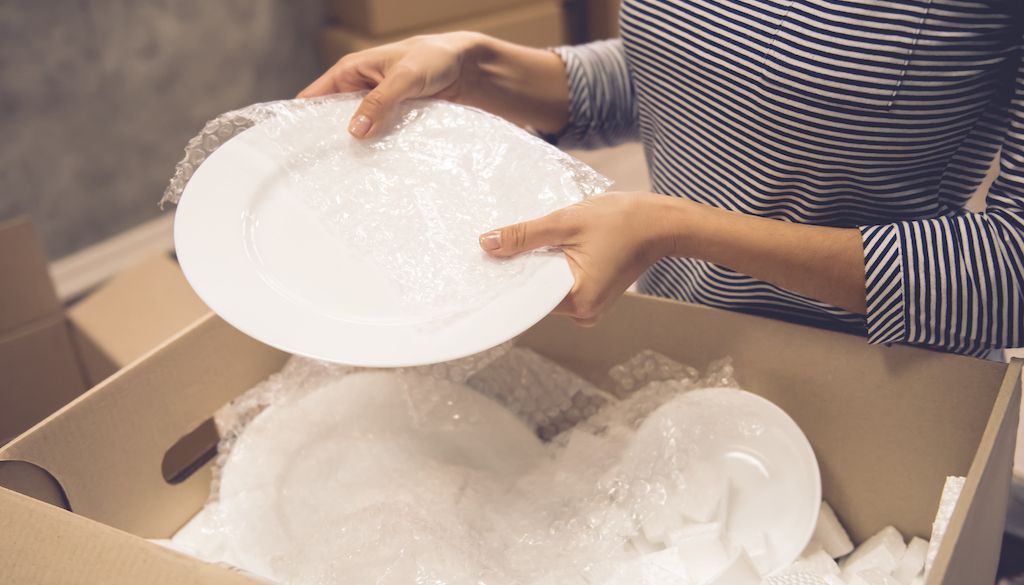 Prepare each box for plates and bowls by lining the bottom with crumpled packing paper. Then, do the following for plates and bowls:
Steps for packing plates:
- Position a plate in the middle of the packing paper’s top sheet.
- Fold a corner over the plate, covering it completely.
- Add a second plate onto the first plate. Fold another corner over the plate and repeat the process with two more plates, until you have a stack of four plates.
- Cover the plates completely with paper, and tape them securely in place.
- Stack the four plates in the box vertically, on their sides.
Steps for packing bowls:
- Bowls of the same size should be wrapped in pairs.
- Place a bowl in the middle of the packing paper sheet.
- Fold a corner of the paper in toward the center of the bowl until completely covered.
- Place a second bowl over the first bowl and finish wrapping in paper, securing with tape.
- Stack the bowls on their sides in the box.
Steps for packing mixing bowls:
- Mixing bowls should be wrapped and nested together.
- Place the largest mixing bowl in the center of the packing paper sheet.
- Fold one corner of the paper into the center of the bowl.
- Place the second-largest bowl into the first bowl, and cover it completely with the remaining packing paper sheet.
- Add the third largest bowl, and fold a corner of a second piece of packing paper into the center of the bowl.
- Place the fourth-largest bowl into the third bowl, and cover it completely with the remaining paper. Secure the package with tape after wrapping the last bowl.
- When all bowls are covered, place the nested package in the box vertically, so the bowls are resting on their side.
Pro tip: Put larger, heavier items in the box first and stack lighter objects near the top. Fill in the empty space with crumpled packing paper.
How to pack utensils.
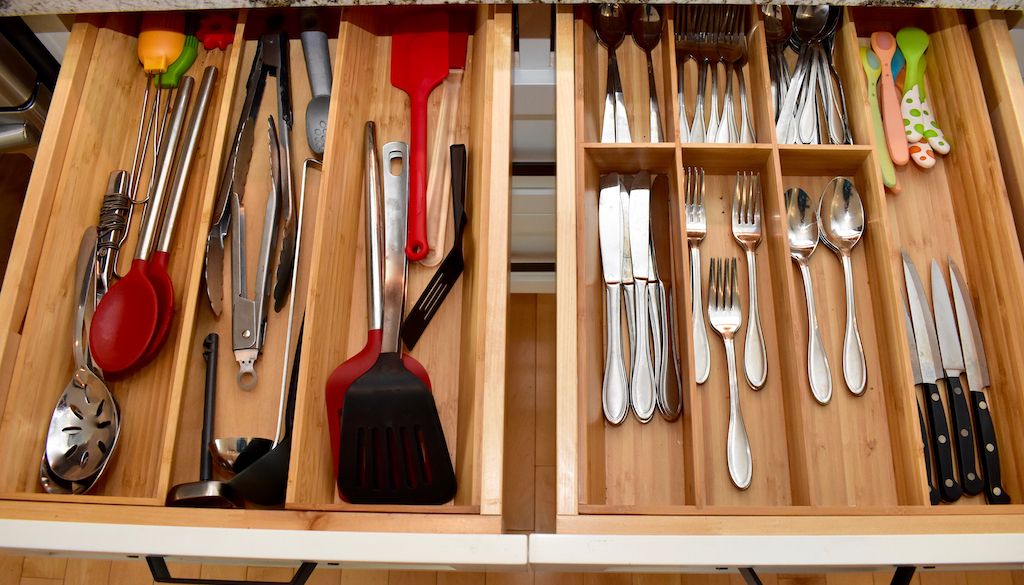 First, ensure that all utensils are clean and thoroughly dried before wrapping and packing them in boxes. Then, separate your eating utensils into groups according to the way you have them stored in the utensil tray. Also, pack large, sharp knives separately from other cooking and serving utensils.
Packing everyday flatware:
- Start by placing a single spoon in the corner of a sheet of packing paper. Roll the paper diagonally until the spoon is covered.
- Add a second spoon on top of the first. Roll the paper again until the spoon is covered.
- Repeat this process, wrapping 6-8 spoons. Continue to roll on a diagonal angle until the last spoon is covered.
- Fold the top and bottom corners of the rolled paper inward and continue rolling until you have a compact bundle you can secure with tape.
- Repeat this process with forks, butter knives and steak knives. Use extra care when handling steak knives. Alternate the direction of each blade as you roll the knives.
- Place the bundled utensils back into the utensil tray compartments.
- Wrap the entire tray with cling wrap or several sheets of packing paper. Secure it with tape and label “Flatware, this side up.”
- Place the tray in the bottom of a moving box.
Tips for packing sterling silver flatware:
Keep sterling silver utensils inside of their dedicated, velvet-lined storage boxes or inside separate pouches of a sterling cloth storage bag. Then, wrap that container in packing paper and label accordingly.
How to pack knives that are large and sharp:
To avoid accidental injury, large, sharp chopping knives need to be wrapped differently. Follow these steps:
- Start with a single knife in the corner of a sheet of packing paper.
- Carefully roll the knife diagonally, using 3-4 sheets of paper, until it’s completely covered.
- Add a second knife, placing the blade in the opposite direction of the first knife. Roll until that knife is completely covered.
- Repeat with additional knives, alternating each blade in opposite directions until you run out of paper. You should have enough to cover 4 to 5 knives.
- Tuck in any loose corners of paper until you have a tightly wrapped bundle. Secure everything with tape, and label the bundle with “Sharp kitchen knives.”
- Place the bundle in the box, on top of the wrapped flatware tray.
How to pack cooking and serving utensils:
Because you might have only one or two of these specialty items (such as whisks and tongs) and many are awkwardly shaped, you may want to skip bundling them in packing paper.
An easier solution for cooking and serving utensils: pack them in large zip lock bags. They can also be wrapped in plastic cling wrap, secured with tape and placed on top of the flatware package.
How to pack pots, pans and other cooking supplies.
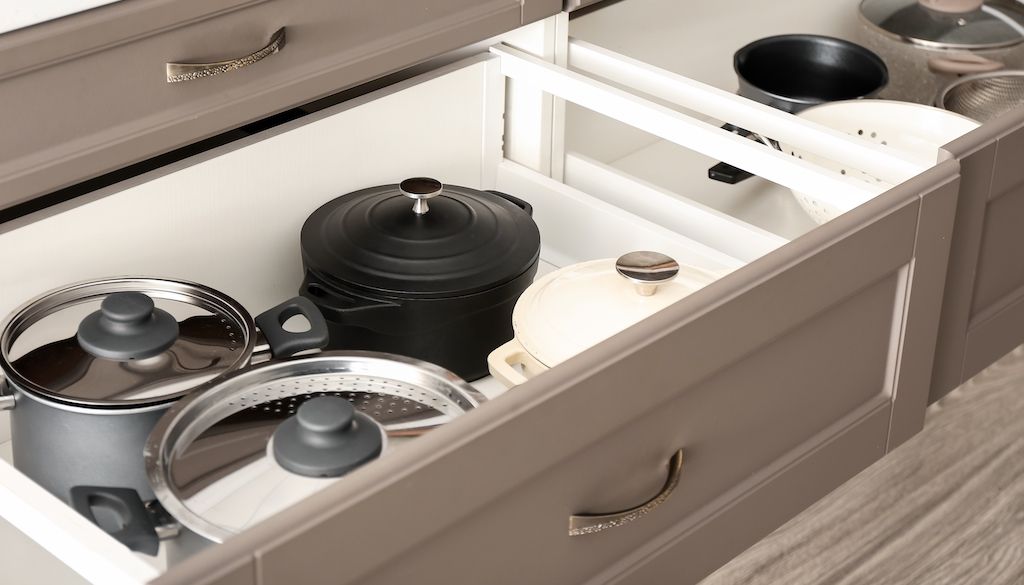 Pots and pans are some of the heaviest kitchen items. Be sure to reinforce the bottom of the box with plenty of nylon tape, going across the width and length of the box. And keep the weight of the box in mind when packing, so it’s not too heavy to lift.
Remove all lids and group pots and pans according to size, so they can nest together. Deeper stock pots can also be used to hold items like cooking and serving utensils when smaller pots with handles can’t be nested inside.
Pots and pans packing tips:
- Place the largest pot or pan in the center of the packing paper.
- Fold 2-3 sheets of packing paper into the center of the pot.
- Add the next pot, folding the edges of the paper into the center, as you did with the first pot.
- Add a third pot if you have enough paper left to cover it, keeping the handles in alignment.
- Fold an extra sheet of paper around the entire bundle and secure it with tape.
- Place bundled pots and pans in a paper-lined box, stacked vertically.
How to pack the lids:
Nest lids like you did with pots and pans. For extra peace of mind, wrap glass lids in bubble wrap before bundling.
- Place the largest lid in the center of the packing paper, handle side down.
- Fold the corner of the paper over the lid covering it completely.
- Place the second largest lid on top of the first lid and cover it with another corner of the paper.
- Repeat the process with up to 2 more lids.
- Cover the entire bundle with an extra sheet of packing paper and secure with tape.
- Label the bundle as fragile if it contains glass lids.
- Place lids at the very top of your cookware box. Fill in extra space with crumpled paper.
Best way to pack glass casserole and pie dishes:
- Wrap glass bakeware in bubble wrap. Unroll the bubble wrap enough to place the largest glass bakeware dish on it.
- Bring the roll up and over the dish completely.
- Nest a smaller dish in the larger one and repeat, so each dish has a layer of bubble wrap separating them.
- Cut the wrap or tear it off at the perforated edge, and secure it with tape.
- Glass bakeware should be packed in boxes with other fragile items like dishes. Place the heavier items like casserole and pie dishes in the center of the box (vertically) to help evenly distribute the weight.
- Pack bundled plates on either side of the bakeware.
Tips for packing cookie sheets and cutting boards:
Nest smaller plastic cutting boards inside cookie sheets and bundle them with cling wrap or packing paper secured with tape. Pack the cookie sheets vertically, on the sides of boxes containing pots and pans.
Hire a pro on Thumbtack to pack your dishes.
 Don’t be alarmed if these moving tips seem overwhelming to you. You can always use Thumbtack to hire a professional moving and packing company near you. These pros can help you pack your dishes — and all your kitchen essentials — safely and efficiently.
FAQs
Should you pack dishes vertically or horizontally?
When stacked vertically, fragile items like plates can withstand more force without breaking. Never pack plates flat or horizontally (like the way they are stored in your cabinets). Plates can be easily broken when lying flat if the box encounters any force, like being bounced around in a moving truck.
How do you pack dishes for moving without paper?
If you’re on a tight budget or looking for an eco-friendlier way to pack your dishes without using packing paper, use towels and soft clothing. Line the bottom of boxes with plush, soft bath towels. Wrap plates in T-shirts and heavier glass bakeware in sweaters or sweatshirts. Socks, stocking caps and scarves can be used to protect stemware and drinking glasses.
How do you pack dishes for moving with foam?
Foam pouches come in very handy for packing plates. Just slide each plate fully inside the pouch, and bundle four plates together with packing paper (or cling wrap and tape). Stack them vertically in the box. Foam popcorn can also be used to line the bottom of the box and to fill empty space on the sides and top.
How do you pack dishes for moving with towels?
You can carefully use a large bath towel to stack 3-4 plates together and position them in the box vertically. Just remember that the towels will add a lot more weight to the box than packing paper. Rolled hand towels and washcloths can be used to fill space.
How do I keep my dishes clean when moving?