Confirm your location to see quality pros near you.
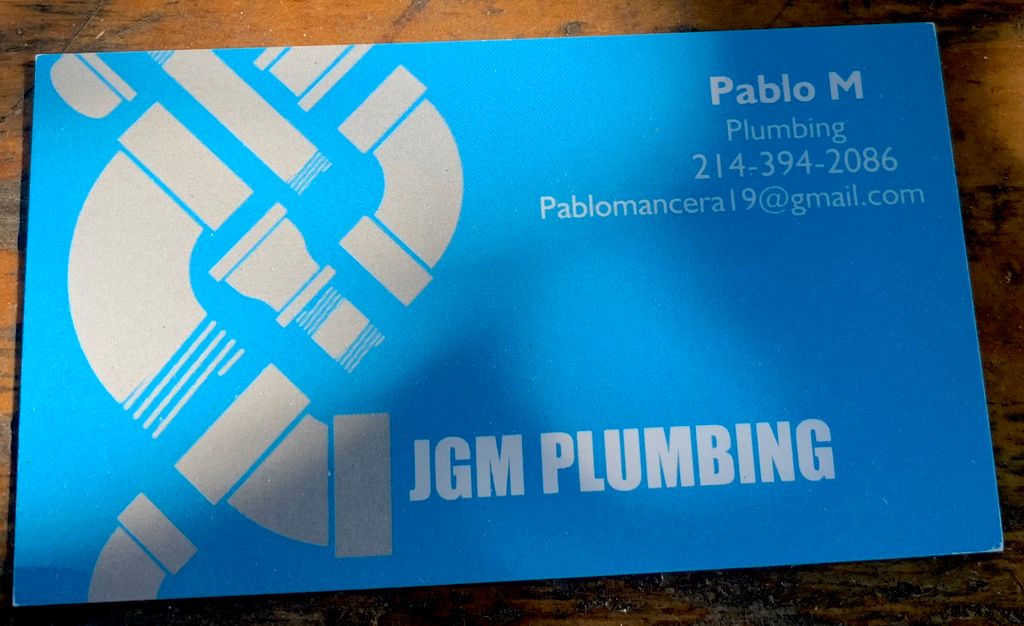
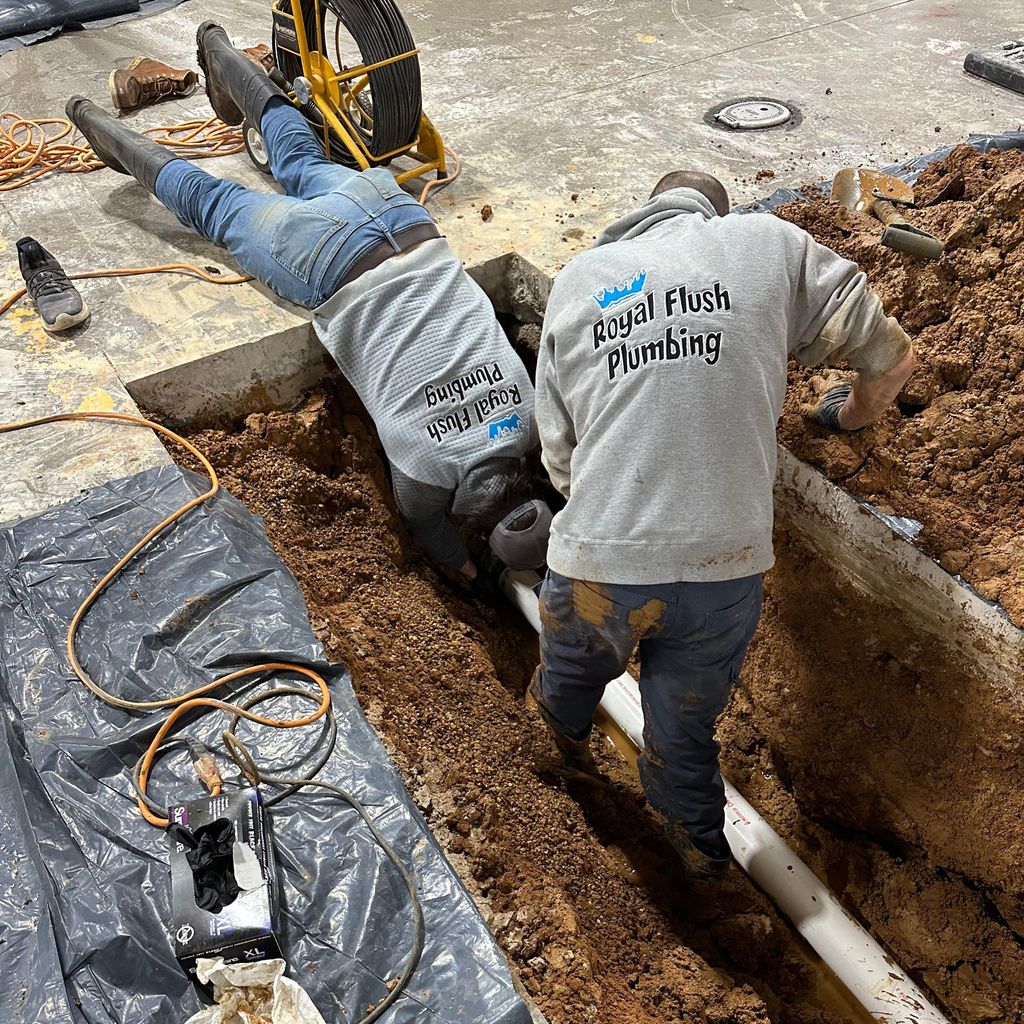
Toilet installers near Fort Worth, TX
Top pros for your project
These pros consistently receive high praise in customer reviews.These popular pros are highly sought after for their quality and expertise.These pros recognize that your time is important, and are the fastest to respond to requests.These highly recommended pros are experts, ready to help with your project.
These pros consistently receive high praise in customer reviews.These popular pros are highly sought after for their quality and expertise.These pros recognize that your time is important, and are the fastest to respond to requests.These highly recommended pros are experts, ready to help with your project.
Filters
When do you want to start?
Number of toilets
Project type
Get quotes from your top 3 matches
These pros match your project, are highly-rated, and respond quickly.
Thumbtack makes it easy to connect with quality local pros for your most important jobs. Compare prices, get free cost estimates, and hire with confidence—all account owners on Thumbtack are required to take and pass a criminal background-check, and jobs are covered by our Thumbtack Guarantee